iPhone + Photoshop = surprisingly good photos
 Wednesday, September 29, 2010 at 11:59AM |
  Darya
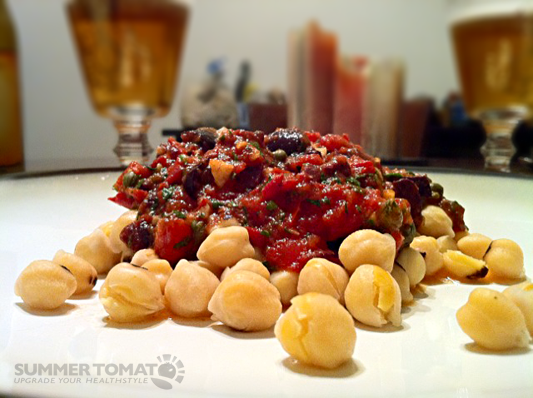
Darya Today is the first time I've used a picture taken on my iPhone 4 as a main image for a recipe on Summer Tomato, and I must admit I'm impressed.
Food bloggers understand how important (and difficult) it is to create enticing food photography when publishing recipes. Traditionally I use full photography equipment including a tripod, light reflectors and diffusors to create the desired effects, then polish the image in Photoshop. The process takes hours.
But today's post wasn't originally intended to be a recipe, and dinner was already late and I was hungry. There would be no waiting to set up photo equipment.
Here at this blog though, I frequently use my iPhone to capture images to make simple points. So I snapped a few iPhone pics anyway, for good measure. The next morning I checked the images and was impressed at how well they turned out, so I decided to play around in Photoshop to see if I could make one good enough for Summer Tomato.
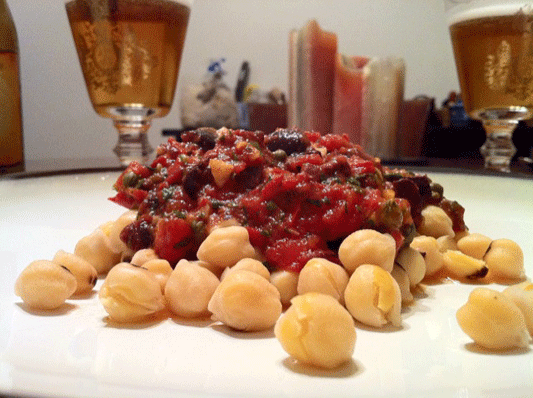
Here's the photo I started with:
 unedited photo
I adjusted the Image using Auto levels and Auto contrast. Auto color didn't turn out right, so I adjusted the color balance manually. I optimized the vibrance and saturation manually as well. Next I used my friend Danny Jauregui's tips to enhance the bokeh using masks and filters in Photoshop.
Though all these tricks work better when I use my real camera and equipment, I was impressed enough with the results to use the photo and recipe.
I'm happy to say there were as many "YUM!" comments as ever.


